
Two-factor authentication
Add a second layer of security to your account. Canary9 supports app-based two-factor authentication (2FA) using time-based one-time passwords (TOTP), the same standard used by Google Authenticator, 1Password, Authy, and others.
Enable two-factor authentication
Open Settings from the user menu in the sidebar and find the Two-factor authentication section. Select Enable to start enrollment. Canary9 shows a QR code and a secret key:
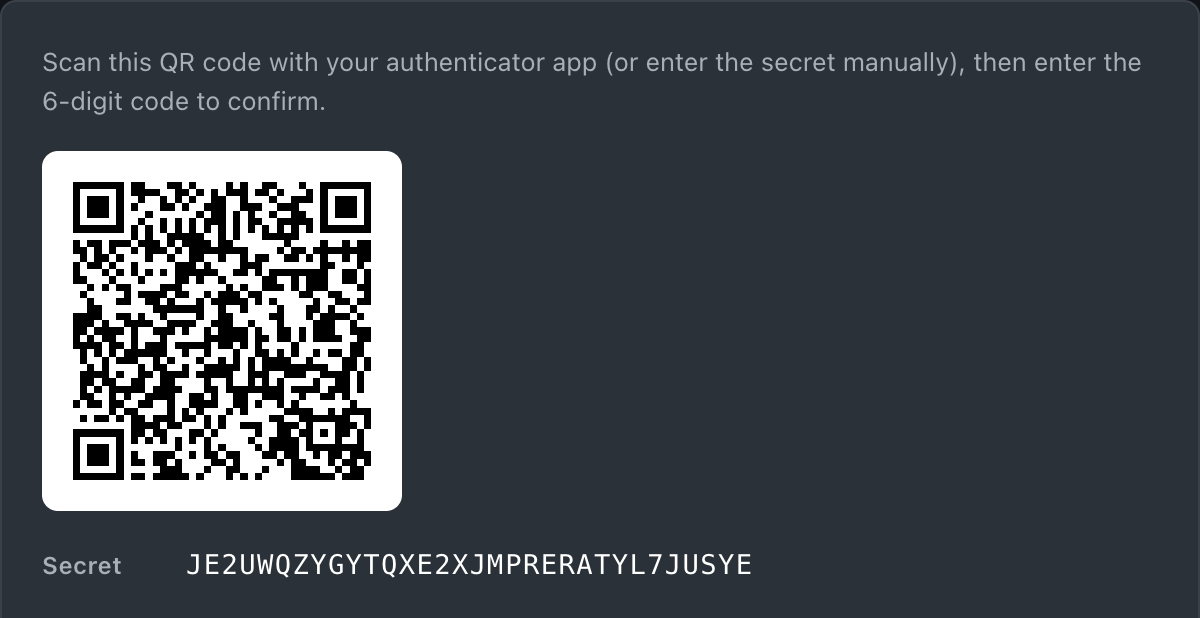
- Open your authenticator app and add a new account by scanning the QR code. If you can't scan, enter the secret key manually.
- Your app starts generating a 6-digit code that changes every 30 seconds.
- Enter the current code in Canary9 and select Confirm to turn on 2FA.
Save your backup codes
Once 2FA is enabled, Canary9 shows a set of one-time backup codes. Store these somewhere safe: a password manager is ideal. If you ever lose access to your authenticator app, a backup code lets you sign in. Each code works once.
Important: backup codes are shown only once, at enrollment. If you lose them and your authenticator device, you may be locked out of your account.
Signing in with 2FA
After 2FA is on, signing in asks for your password and then the current 6-digit code from your authenticator app (or a backup code). Nothing else about your workflow changes.
Disable two-factor authentication
In Settings → Two-factor authentication, select Disable and confirm with your account password. We recommend keeping 2FA on for every account, especially for admins who can manage your organization's endpoints and members.